NeoPixel LED Controller
Building a NeoPixel LED Controller with MQTT and HomeKit support. Expanding on my previous project to add LED lighting to my work area, I wanted to investigate a lower voltage and more customisable LED system. I had read about WS2812B or NeoPixel LEDs but had not built anything with them.
I have since build a whole raft of lighting projects utilising these and even designed a simple PCB to use in my controllers. In this blog post I aim to go over the basics, take a peek at the software I have written and talk about the various projects I have used them in.
What Are NeoPixel LEDs?
NeoPixel is Adafruit’s brand name for individually-addressable RGB colour pixels and strips based on the WS2812, WS2811 and SK6812 LED/drivers, but it has become shorthand for any individually addressable LED drivers. The cool part about this is the fact that you can set properties on any LED in a whole strip or matrix, this allows us to play about with effects and fades and makes them a lot more versatile that the standard strips I used in my previous project (Build A HomeKit Enabled WiFi LED Strip). They also run on 5v rather than 12v so building a project with a microcontroller is far easier and need less components.
Required Hardware
The hardware you will require for this project is as follows
- An existing MQTT server on your network, this is required for messaging,
- If you wish to use HomeKit an existing Homebridge server on your network.
- An ESP8266 board, something like a Wemos D1 Mini, you can use other boards but you will have to amend the code.
- A length of WS2812B strip, something like this, 5 meters (60 LED) costs about £15.
- (Optional) A barrel jack socket, to connect DC power to the board.
- A suitably rated 5v power supply, the amperage will vary depending on how long your LED strip is. I used a 5v 4A supply I had already.
- A suitable current smoothing capacitor to deal with sudden changes in the LED strip current draw. I used a 1000uF 16v capacitor.
- Some perfboard to build the project on (or use my handy dandy Gerber files to have PCBs made, or even better get JLCPCB to fab and send it to you.).
- (Optional) A screw terminal to attach the LED strip leads to your board.
- Some patch wire to link the components on the board.
- A suitable enclosure or access to a 3D printer (STL and OpenSCAD files are provided).
- Soldering iron, snips etc.
The Circuit
The following shows how to connect the various components, there really is not a lot to it and you could go without any perfboard at all and simply solder the parts together.
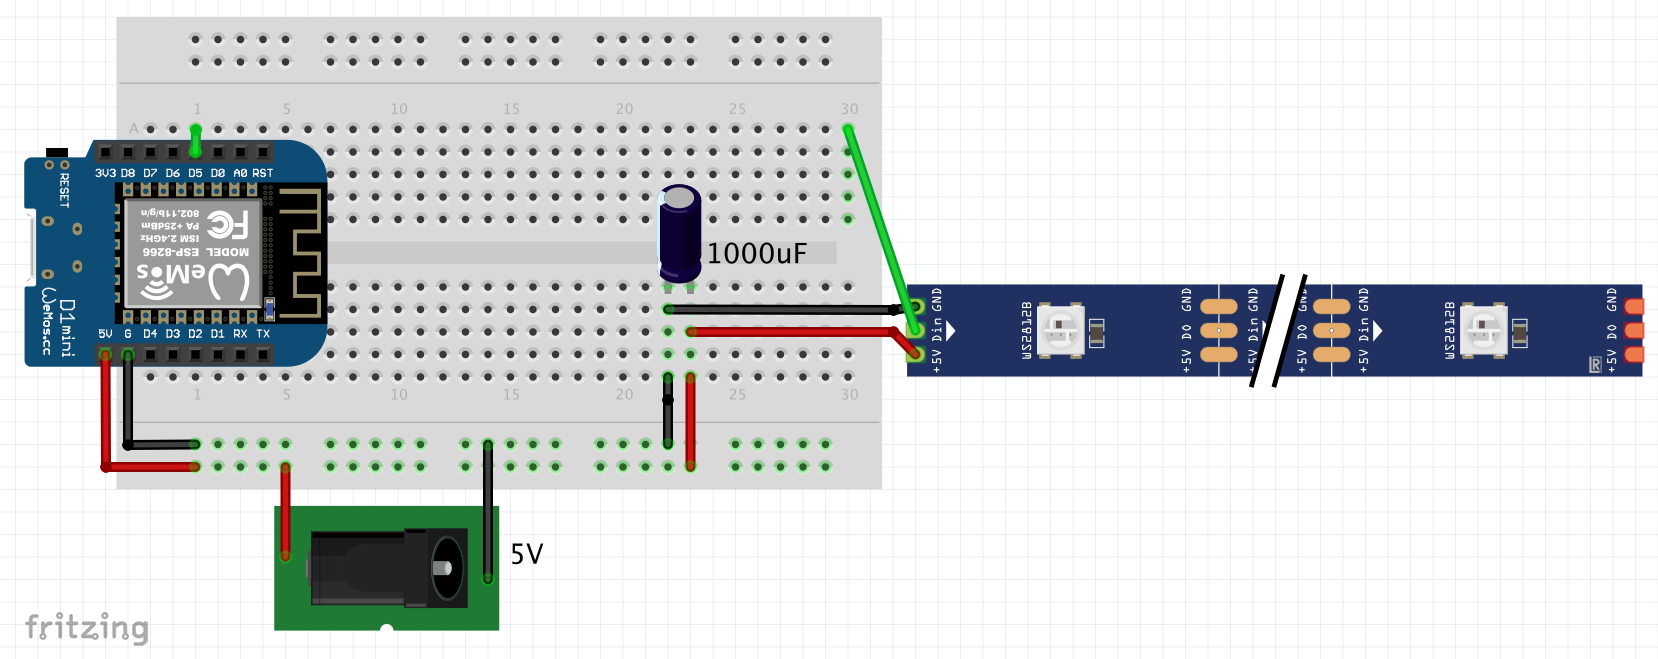
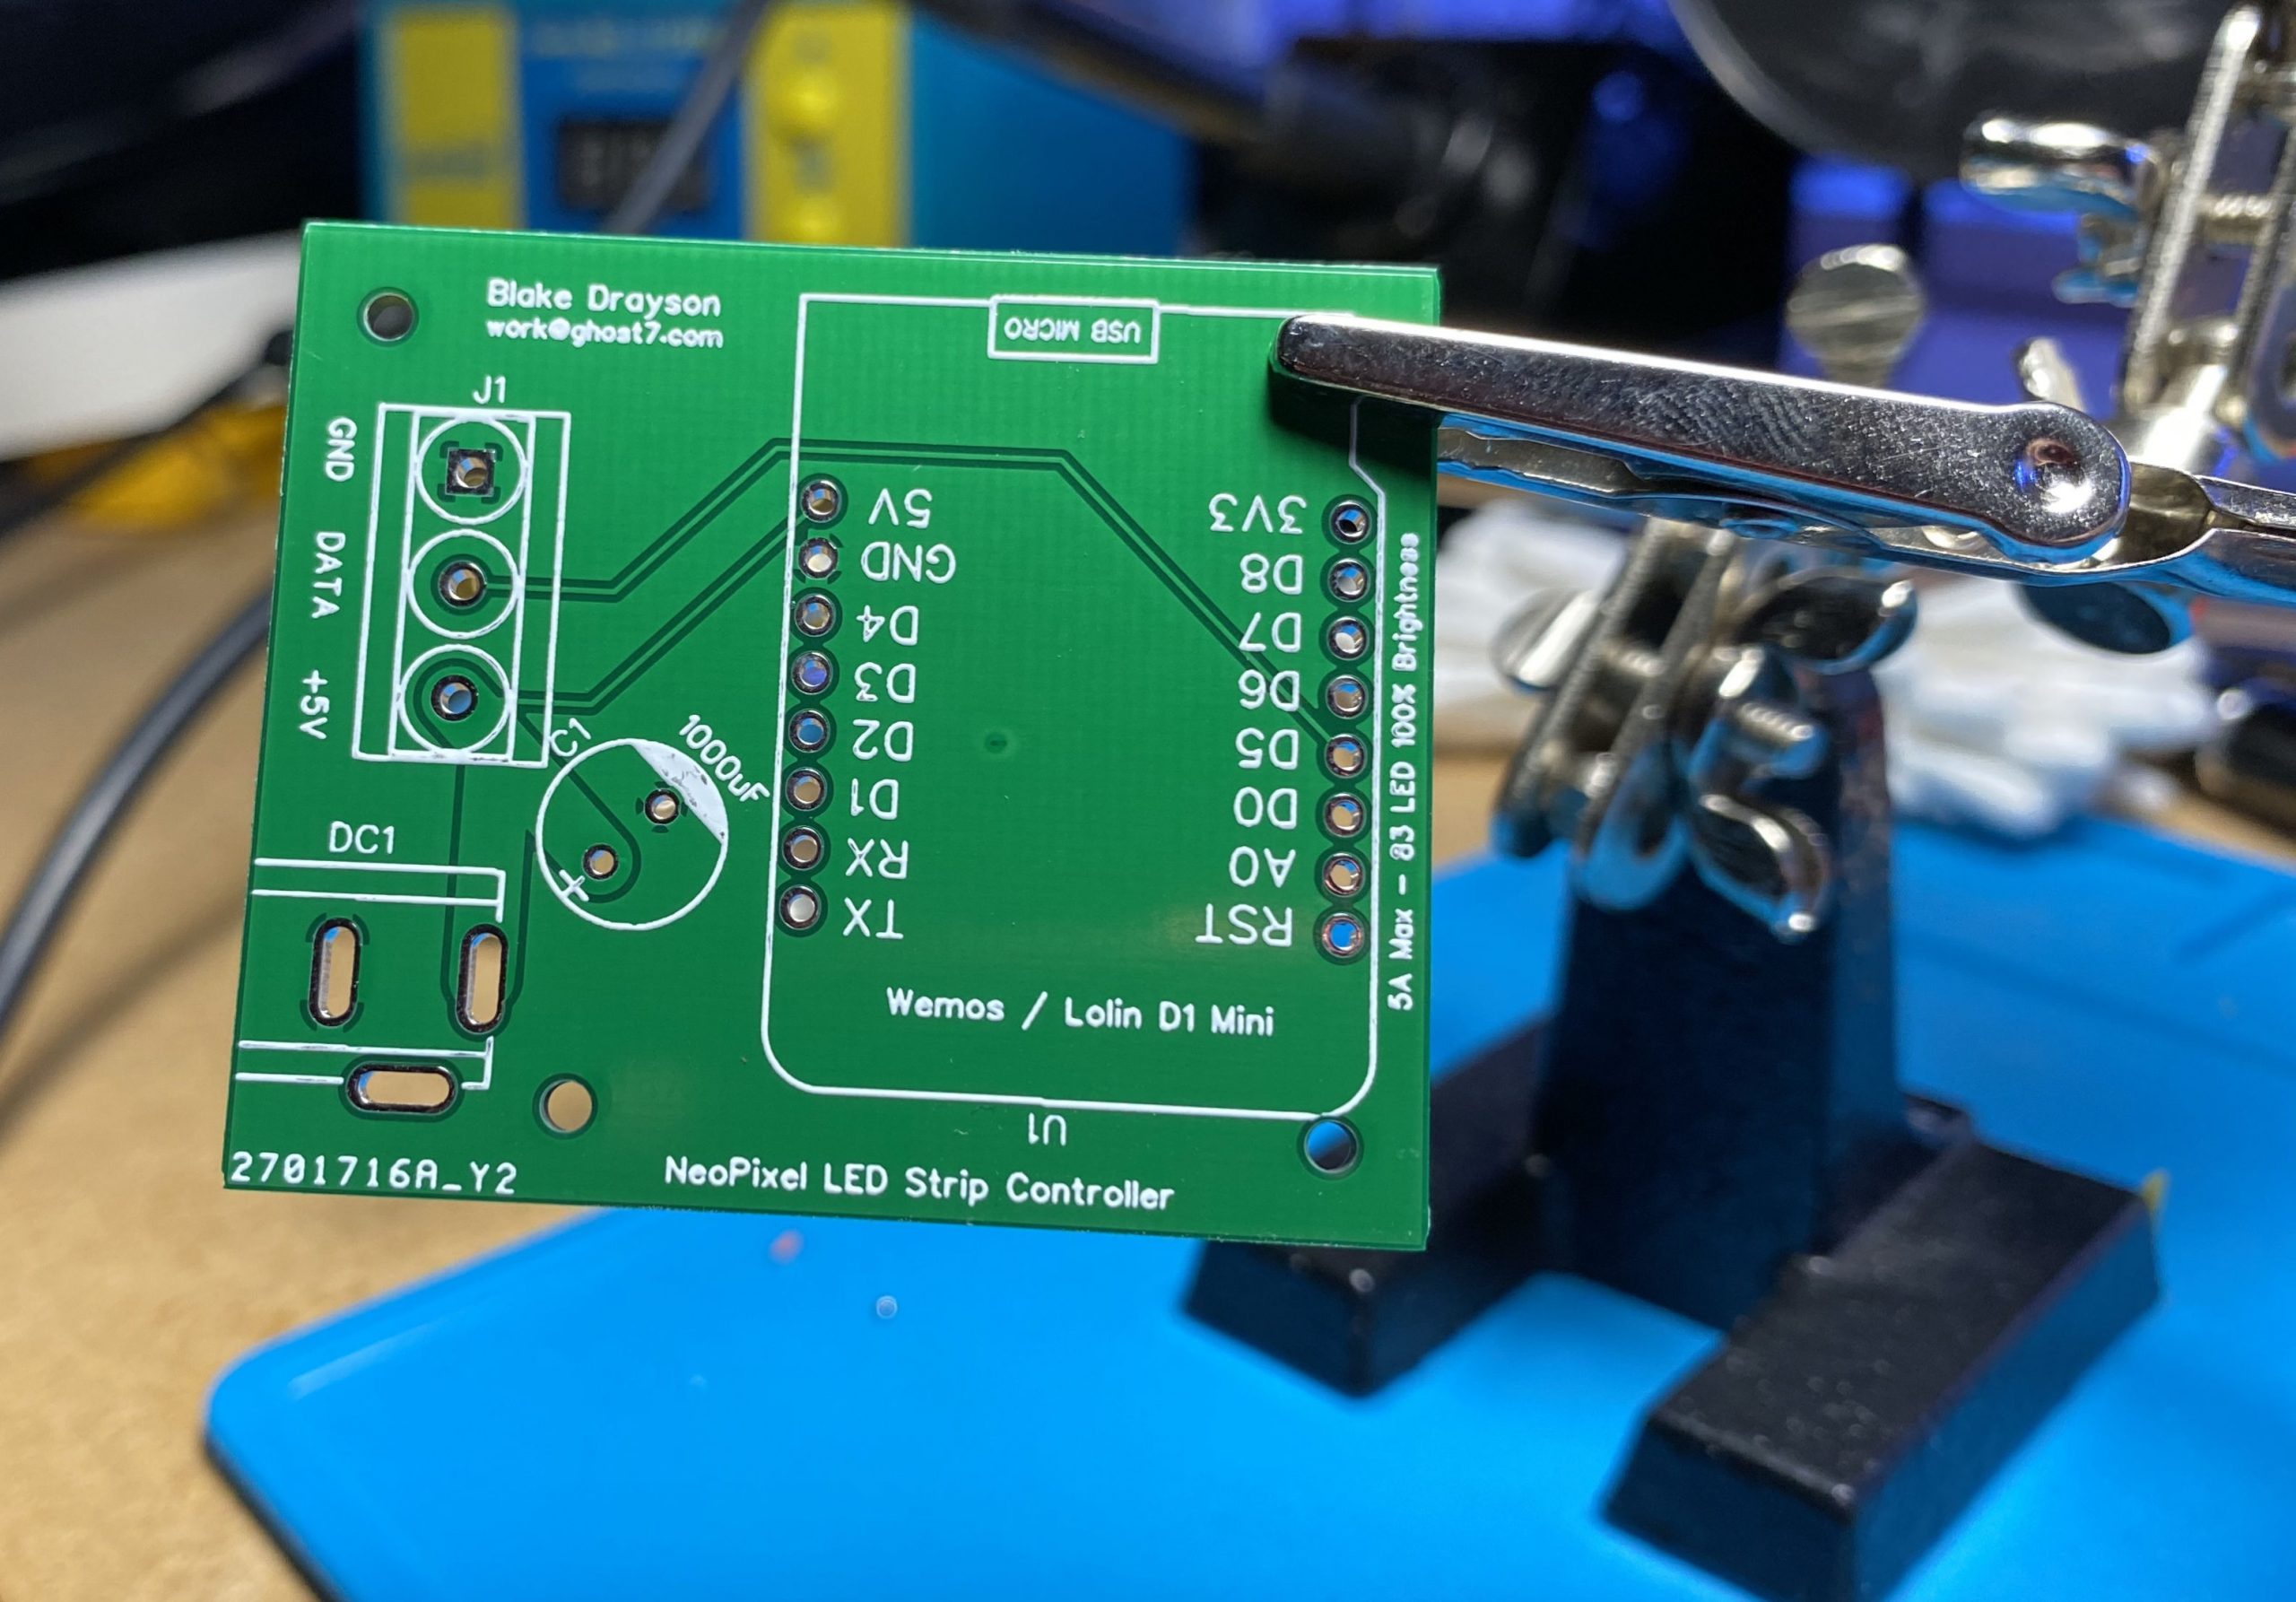
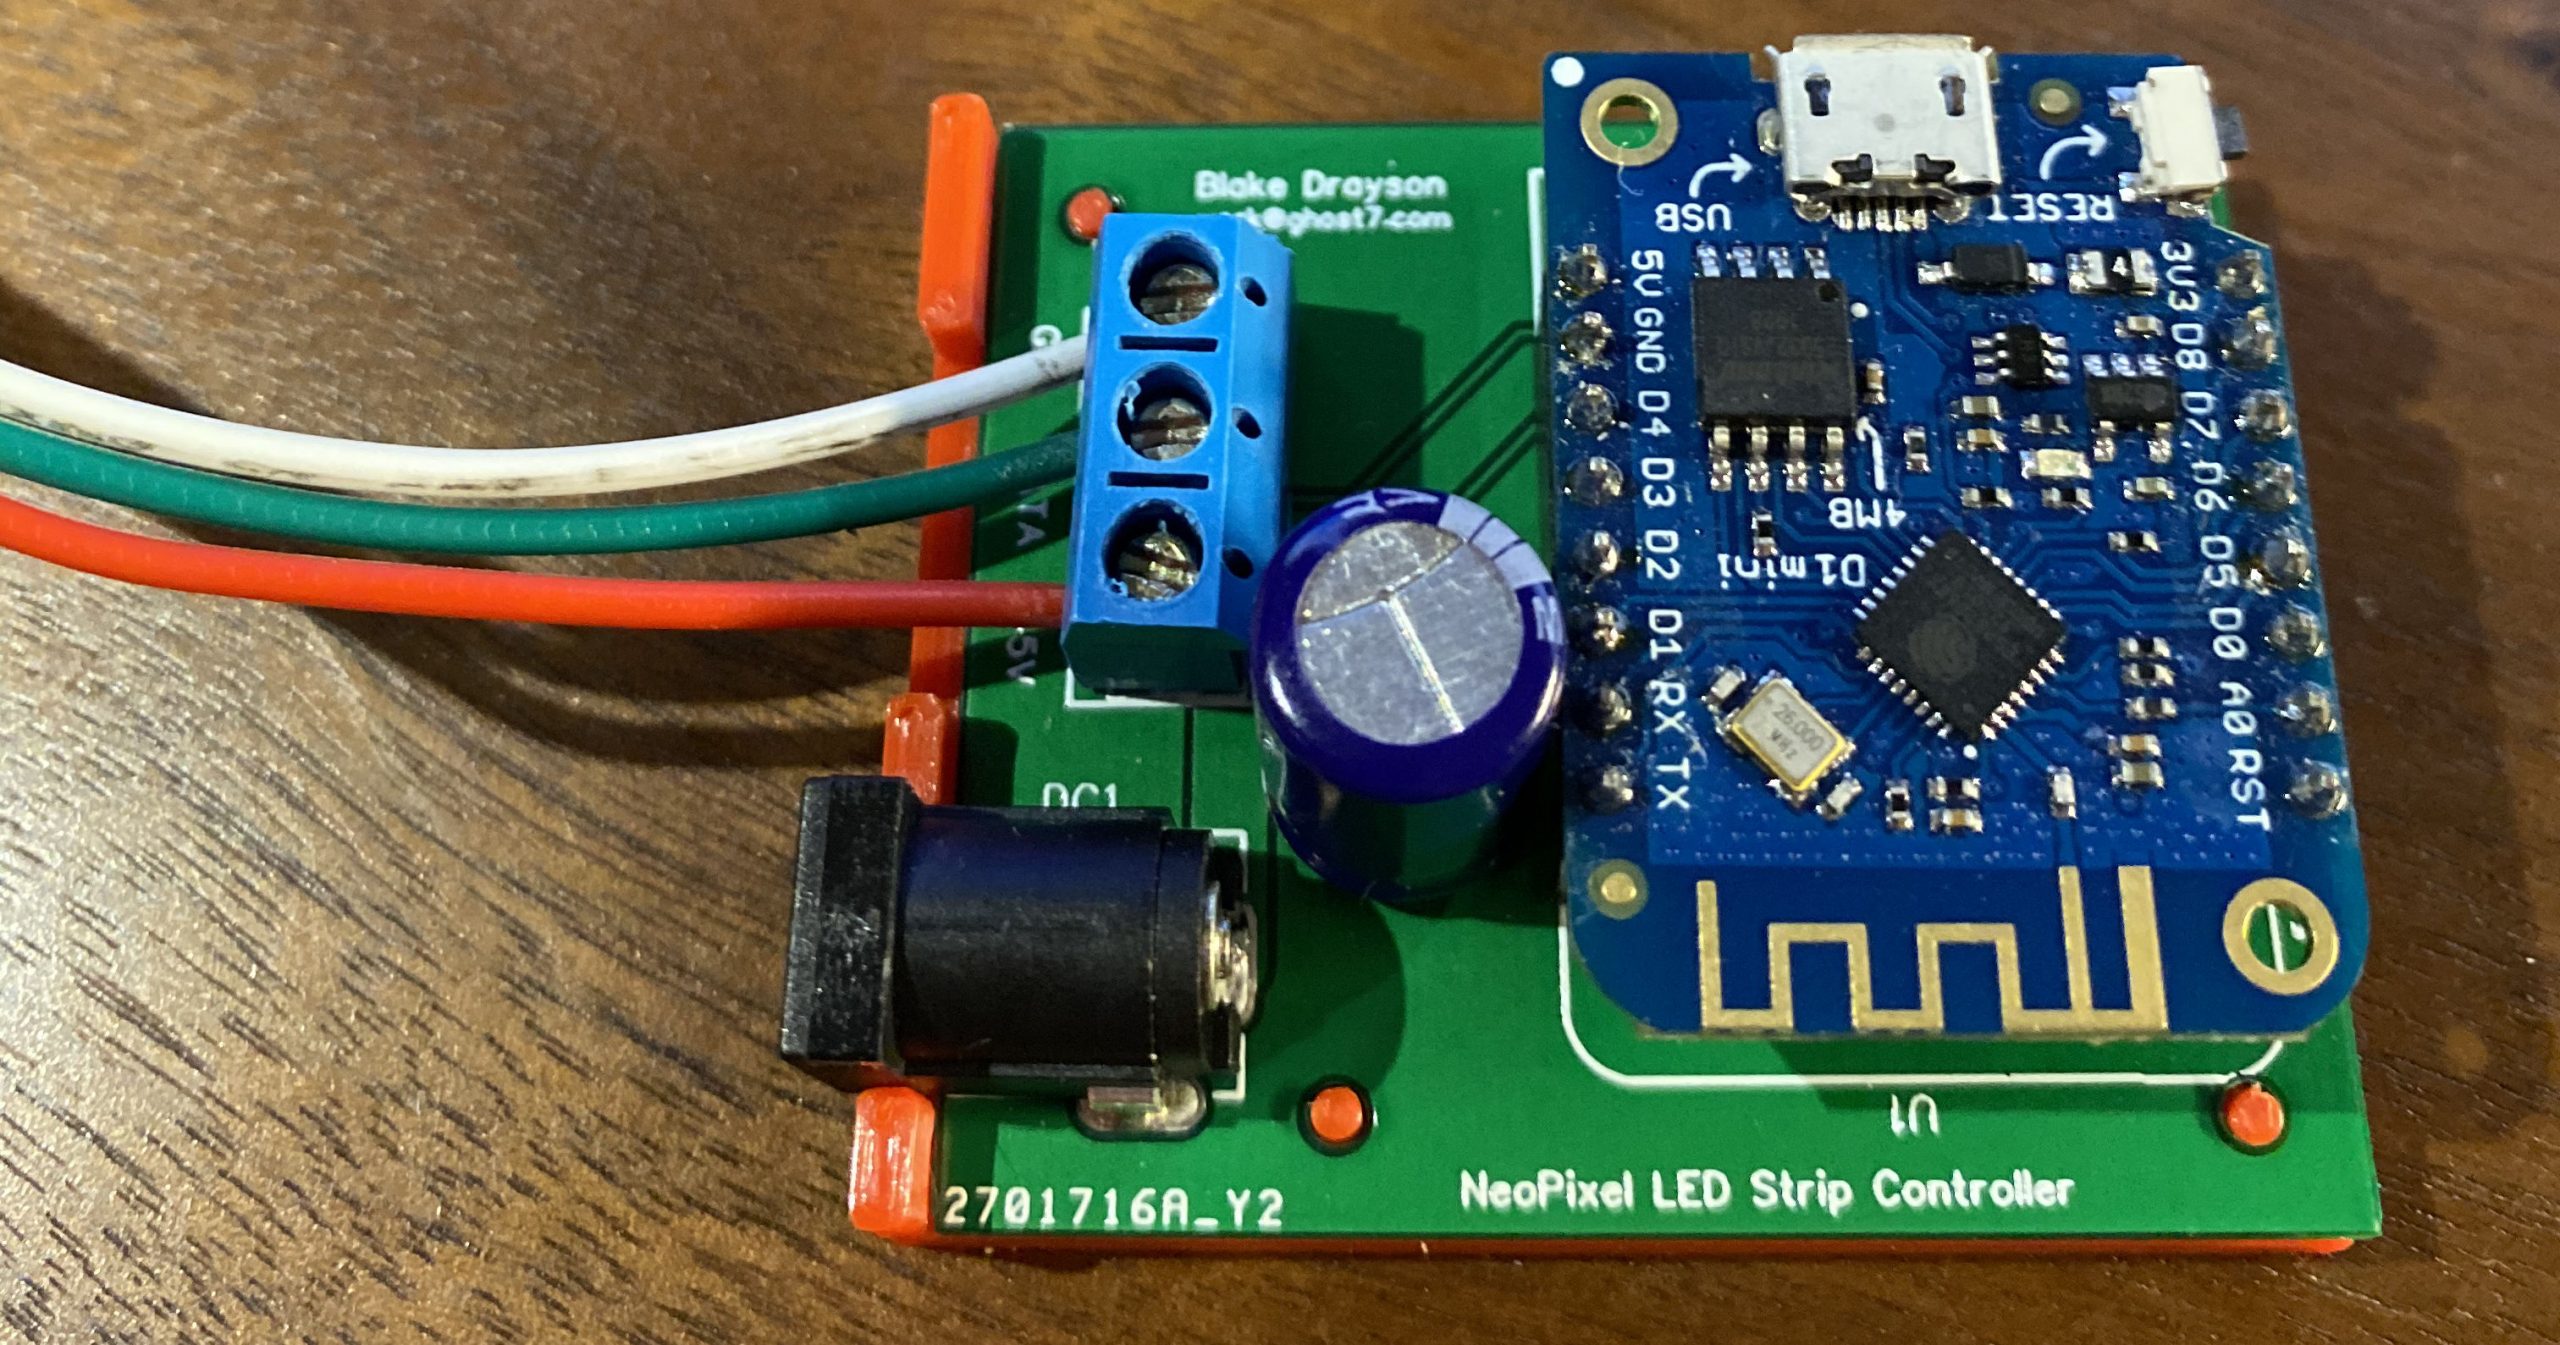
I have used this circuit so frequently in projects that I have now designed a PCB so I can standardise the layout and case design. The Gerber files are freely available and if you wish you can visit my EasyEDA project page and get JCLPCB to manufacture batches of the board.
The Microcontroller Code
The code has been written using the Ardunio platform, although I prefer to to use PlatformIO inside Visual Studio Code rather than the Arduino editor.
All of the code files, fritizing diagram, Gerber and 3d printer files for the NeoPixel LED Controller can be found on my github.
The controller code is similar to my previous project (Build A HomeKit Enabled WiFi LED Strip) in so far as being able to send HSV values to set colours, but it also now allows you to run effects on the connected LEDs. You can even specify a favourite effect so you can easily toggle it via HomeKit. Some of the effects will use the currently selected colour as their base (with a default colour if none is selected) and other effects will run though pre-configured colours.
LED Effects
The current list of effects is as follows, they are taken from a great article on FastLED / NeoPixel LED effects by Tweaking4All.com. I have taken a selection I wished to use and adapted them for my purposes.
| Effect | Description |
|---|---|
| RGB Loop | Fades colour in and out from red to green to blue |
| Running Lights | Chase light effect from red to white to blue |
| Colour Wipe | Wipe effect using the colour you have selected |
| Rainbow Cycle | Rainbow cycle of colours, default effect on strip |
| Theatre Chase | LEDs chase each other, like an old theatre, uses whatever colour you have selected |
| Theatre Chase Rainbow | Rainbow effect version of theatre chase |
| Fire | Burning fire effect |
| Meteor Rain | Meteor shooting across the sky |
| Cylon | By your command.. |
| Twinkle | Twinkle effect using selected colour |
| Tinkle Random | Twinkle effect using random colours |
| Sparkle | Variation of twinkle, white sparkle effect |
| Snow Sparkle | Snow effect with occasional sparkle |
| Breathing | Breath in out effect with selected colour. |
Configuring The Code
Firstly you must adjust and renamed the config file, I (now) use LittleFS uploaded config files for most of my projects as it makes my configuration easier for WiFi. MQTT and OTA. On the github page there is an example file that once checked out will need to be renamed to config,json (from config.EXAMPLE.json) and edited to fill in the SSID and password of your WiFI network. You will also need to complete your MQTT server details, I would pay special attention to the device_id and base_topic as they will end up setting the full topic for your MQTT commands, please set then to something sensible.
{
    "name": "Desk LED Strip",
    "device_id": "desk-led-strip",
    "wifi": {
      "ssid": "WIFI_SSID",
      "password": "WIFI_PASSWORD"
    },
    "mqtt": {
      "host": "xxx.xxx.xxx.xxx",
      "port": 1883,
      "base_topic": "basement/light/",
      "username": "MQTT_USERNAME",
      "password": "MQTT_PASSWORD",
      "retained": true
    },
    "effect_sw":{
      "effect_index": 4,
      "effect_seconds": 0
    }
  }
You can also see there is a section called effect_sw, this is designed to set the parameters for the effect you would like to be able to toggle on and off via HomeKit. The effect_index is a number from the above effects table, the effect_seconds is how long it should run with 0 being forever (this is best for a toggle switch, change if you configure a momentary one). By default it runs the Rainbow Cycle effect.
You will need to configure some settings in the main code, you will need to edit led.h. From here you can edit the pin that will send the control signals to the LED strip, by default it is D5 (LED_PIN). You will also need to set how many LEDs you have in your strip, otherwise they will not behave as expected (NUM_LEDS). Optionally you can set the voltage and amperage limits on the strip, thus limiting the power you will use (LED_STRIP_VOLTAGE, LED_STRIP_MILLIAMPS. I suggest leaving the voltage at 5v and adjusting the amperage to suit.
#define NUM_LEDS 73
#define LED_PIN D5
#define LED_STRIP_VOLTAGE 5
#define LED_STRIP_MILLIAMPS 4000
Over The Air Updates
The code is configured to allow over the air updates, the thought behind this is that once you have a light in place it may not be easy or practical to connect the device back to a computer to upgrade the firmware. The mDNS name will be in the form of <deviceid>.local, for example, using the example config it would have a name of _desk-led-strip.local. If you are using PlatformIO (which I highly recommend over the Arduino IDE) you simply need to change the upload_port in the ini file to the name of your mDNS entry.
I will not go through all the code files here as they are available on my github page. You will need to update and upload the config file before compiling and flashing the code to the device of your choice.
MQTT
Once you have the circuit built and the code flashed to your device, it is best to test that it can receive MQTT commands before you try and configure it to work on HomeKit.
For testing MQTT I use MQTT.fx on the Mac, and as it runs on Java this should work on all platforms. I am assuming you have not changed the base_topic and device_id, if you have you can update the tests to reflect this.
Basic Light
You can subscribe to “basement/light/desk-led-strip/hsv” and this will post back a comma delimited string with the HSV value that the light has been set to (for example 0,0,100). It will also retain messages so after a power loss the state is known.
If you send a message to “basement/light/desk-led-strip/hsv/set” with the payload of a comma delimited HSV value such as 0,0,100 it will set the strip to that colour and intensity, it will also then post back to “basement/light/desk-led-strip/hsv” with the HSV change.
Effects
You can set an effect and the duration for the effect should run for by sending a JSON payload to “basement/light/desk-led-strip/effect”. The payload should look like the following.
{effect_index:9, effect_seconds:20}
The above payload would run the Cylon effect for 20 seconds, it mirrors the parameters seen in config file for the effect_sw.
Effect Switch
If you wished to have a toggle-able effect mode without having to send a complex JSON payload (for example in HomeKit) you can define a switch effect in the config file. To turn the effect on or off you can simply send a “true” or “false” payload to “basement/light/desk-led-strip/effect_sw/set”.** It will mirror back the state that has been set to **“basement/light/desk-led-strip/effect_sw”**.
Apple HomeKit via Homebridge
If you have a working Homebridge server you can easily add this device to it and be up and running in no time. You need to install the MQTTthing plugin if you do not have it already and then add the following to your config file, adjusting as required for your MQTT setup.
        {
            "accessory": "mqttthing",
            "type": "lightbulb",
            "name": "Desk LED",
            "url": "mqtt://localhost",
            "username": "USERNAME",
            "password": "PASSWORD",
            "topics": {
                "getHSV": "basement/light/desk-led-strip/hsv",
                "setHSV": "basement/light/desk-led-strip/hsv/set"
            }
        },
If you wanted to add an additional switch for turning on or off a the pre-configured effect mode then add the following to your config file, adjusting as required.
        {
            "accessory": "mqttthing",
            "type": "switch",
            "name": "Desk LED Effect",
            "url": "mqtt://localhost",
            "username": "USERNAME",
            "password": "PASSWORD",
            "topics": {
                "setOn": "basement/light/desk-led-strip/effectsw/set",
                "getOn": "basement/light/desk-led-strip/effectsw"
            }
        },
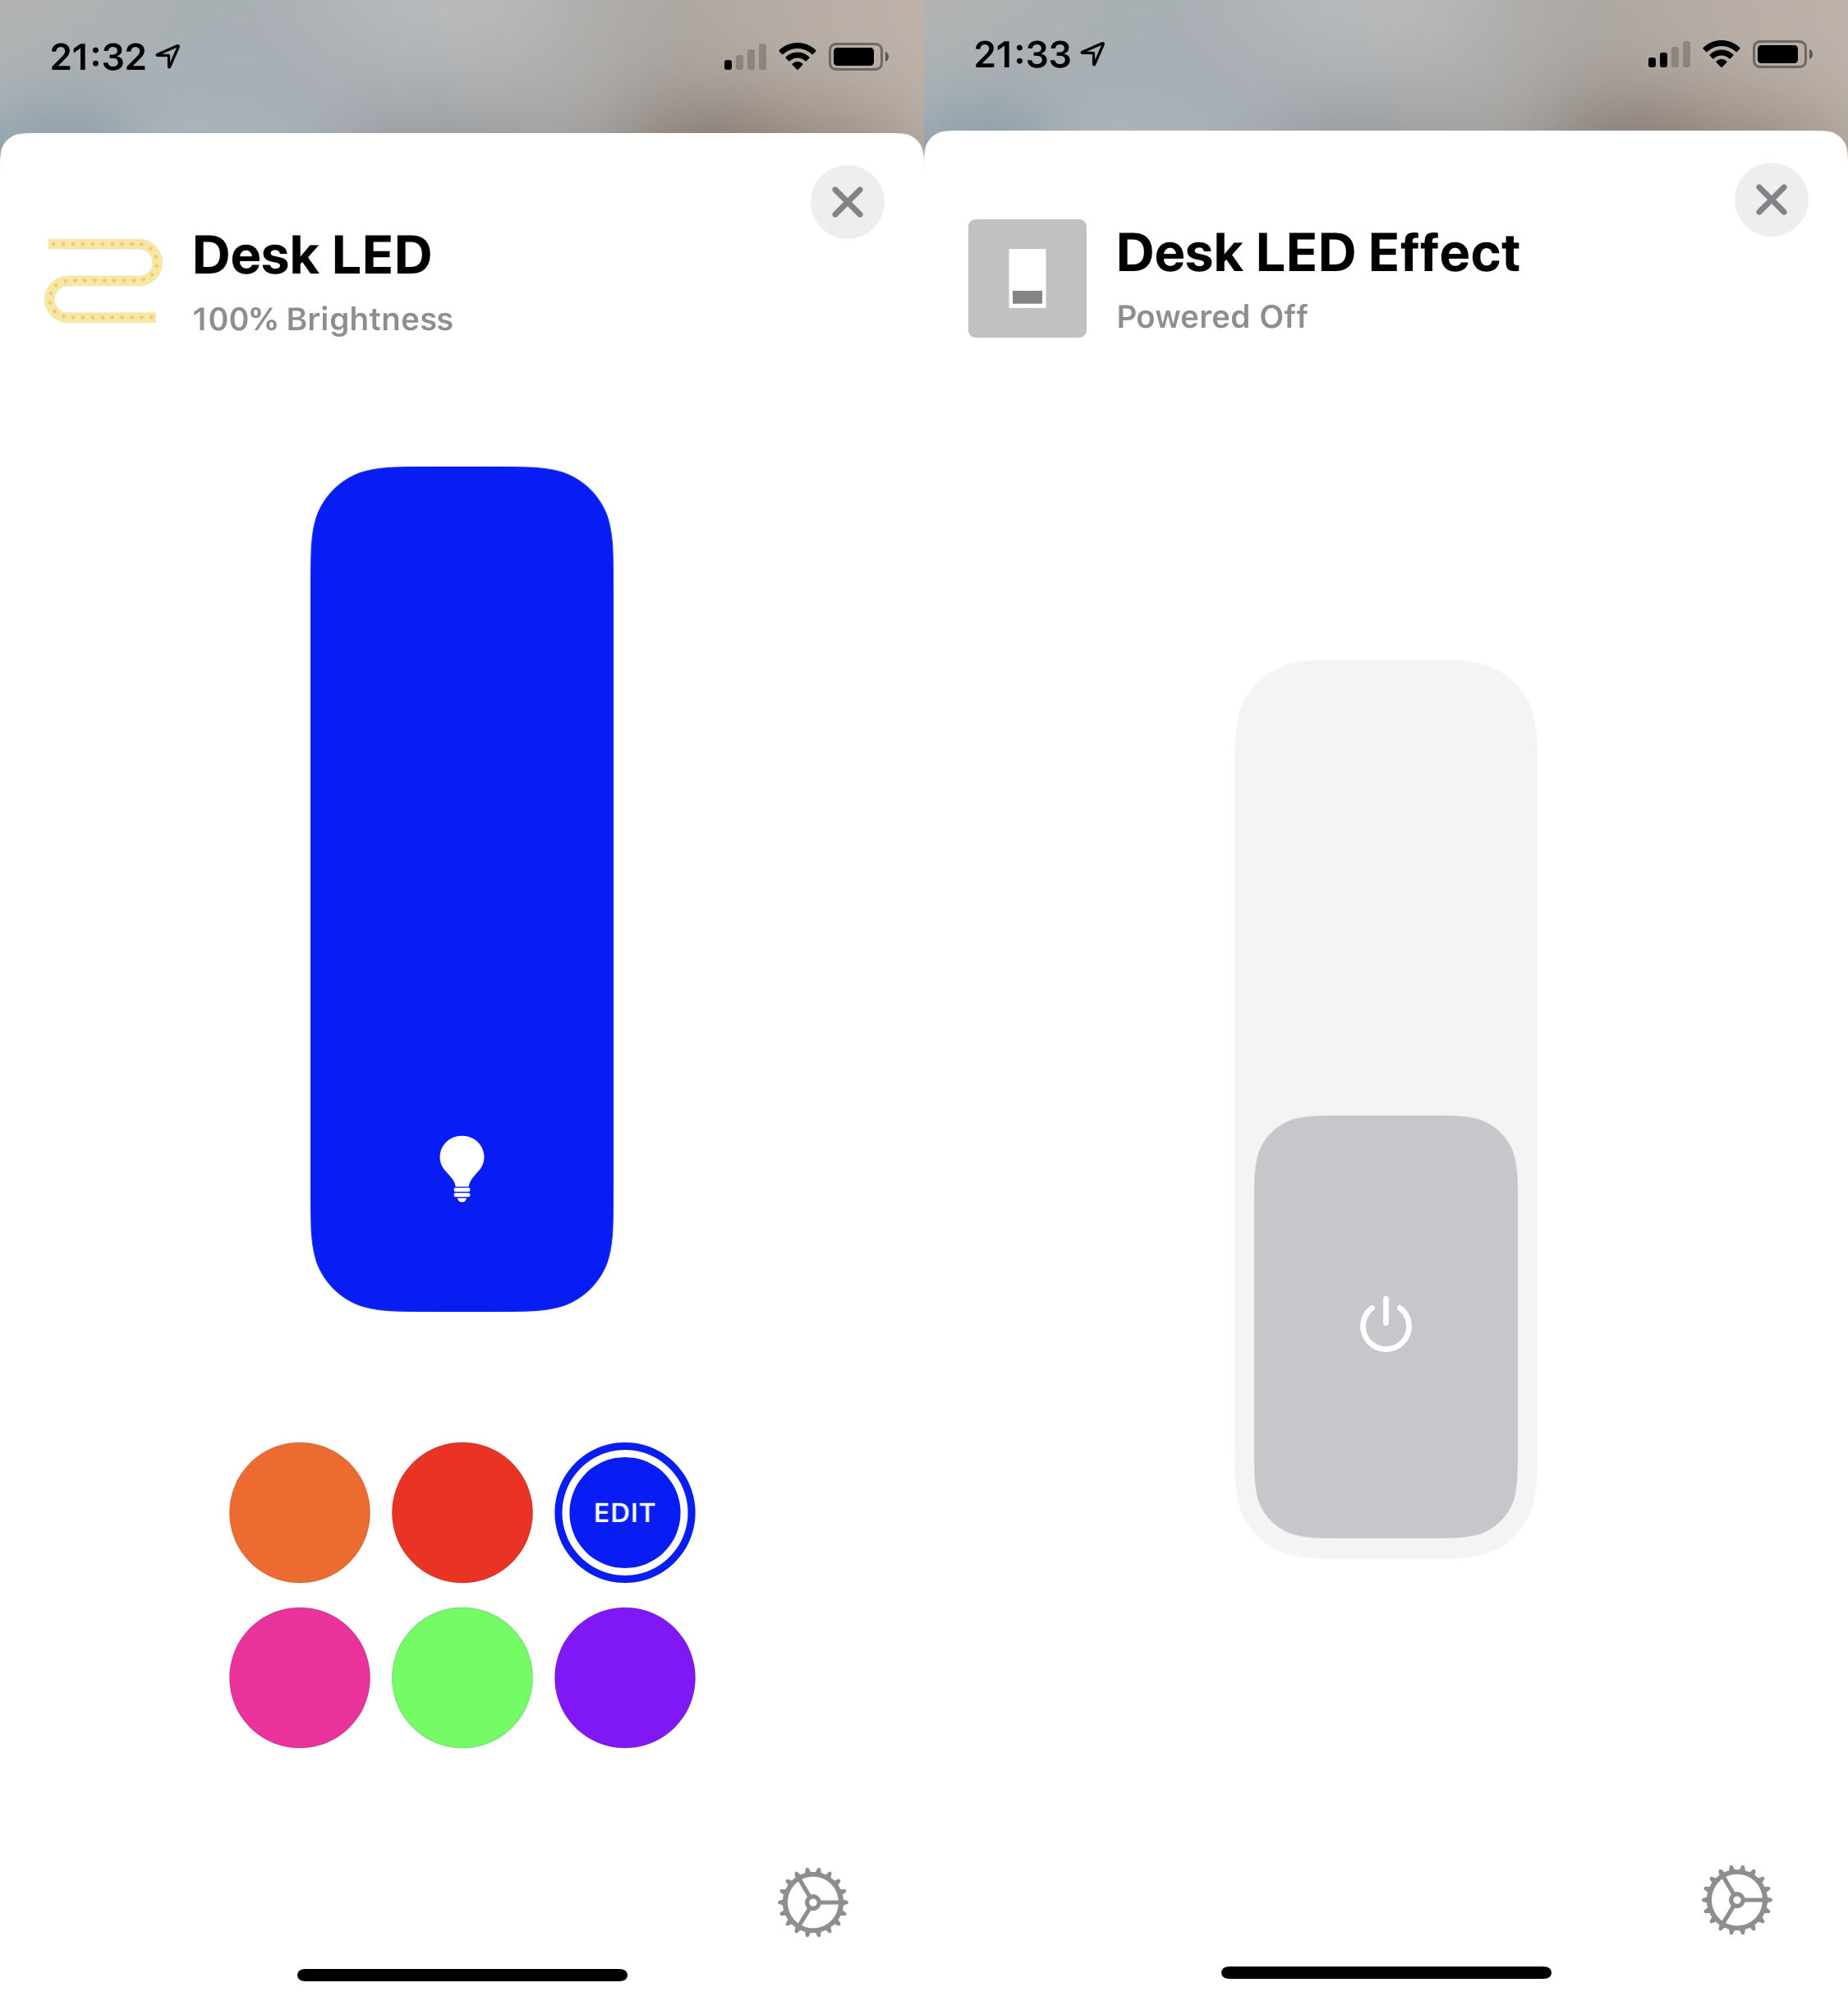
Once you have restarted Homebridge you will see a new light on your Home app.
3D Printed Case
I have produced a 3D printed case that fits my PCB, this will probably work for a custom build without the PCB but you will have to play around. I am not sure how well it will snap together without the PCB. The STL and OpenSCAD files are on my github under the folder 3d-printed-case.
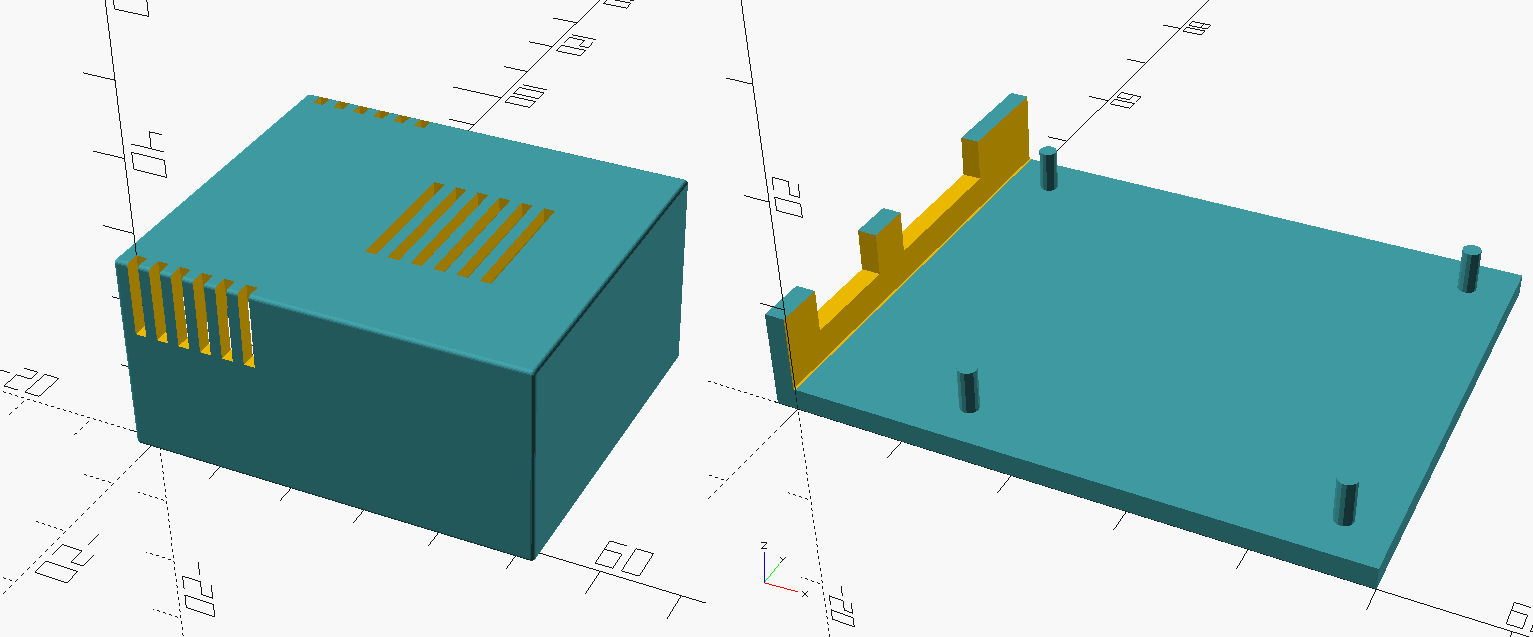
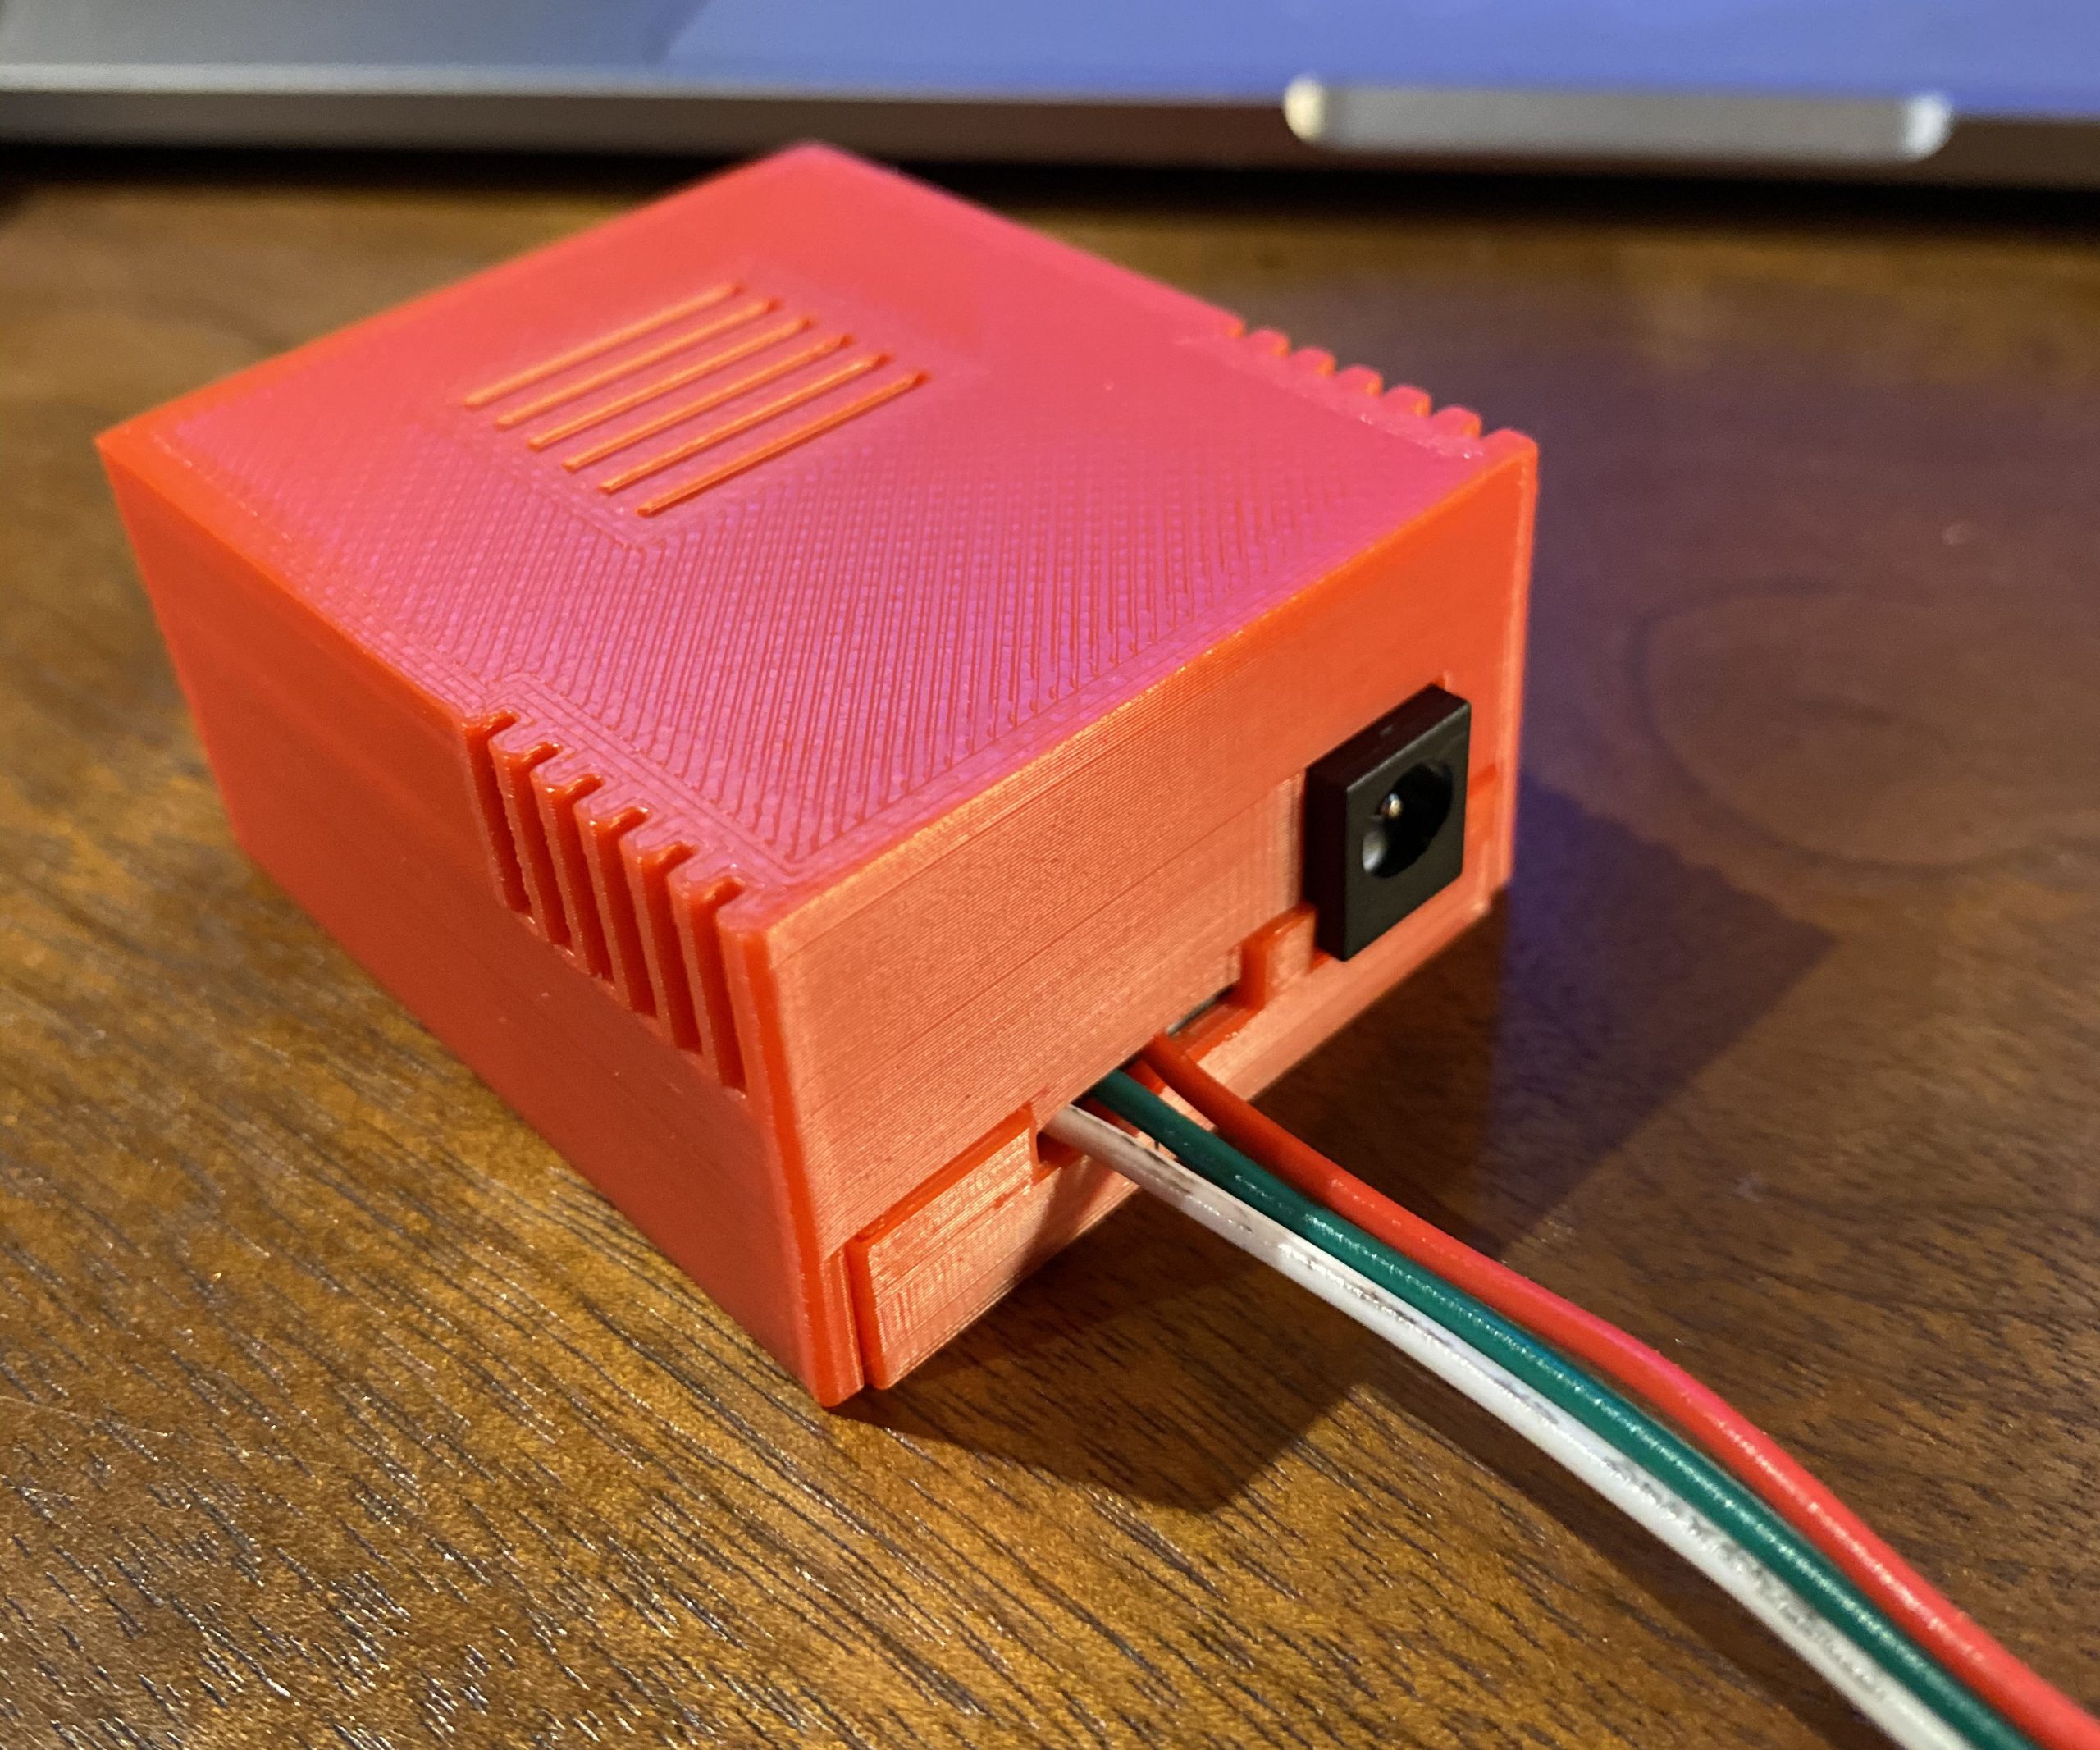
I hope you have found this guide useful, if you have any problems with the NeoPixel LED Controller or any suggestions, feel free to leave a comment or post on my github page.
Lighting Projects Using This Controller
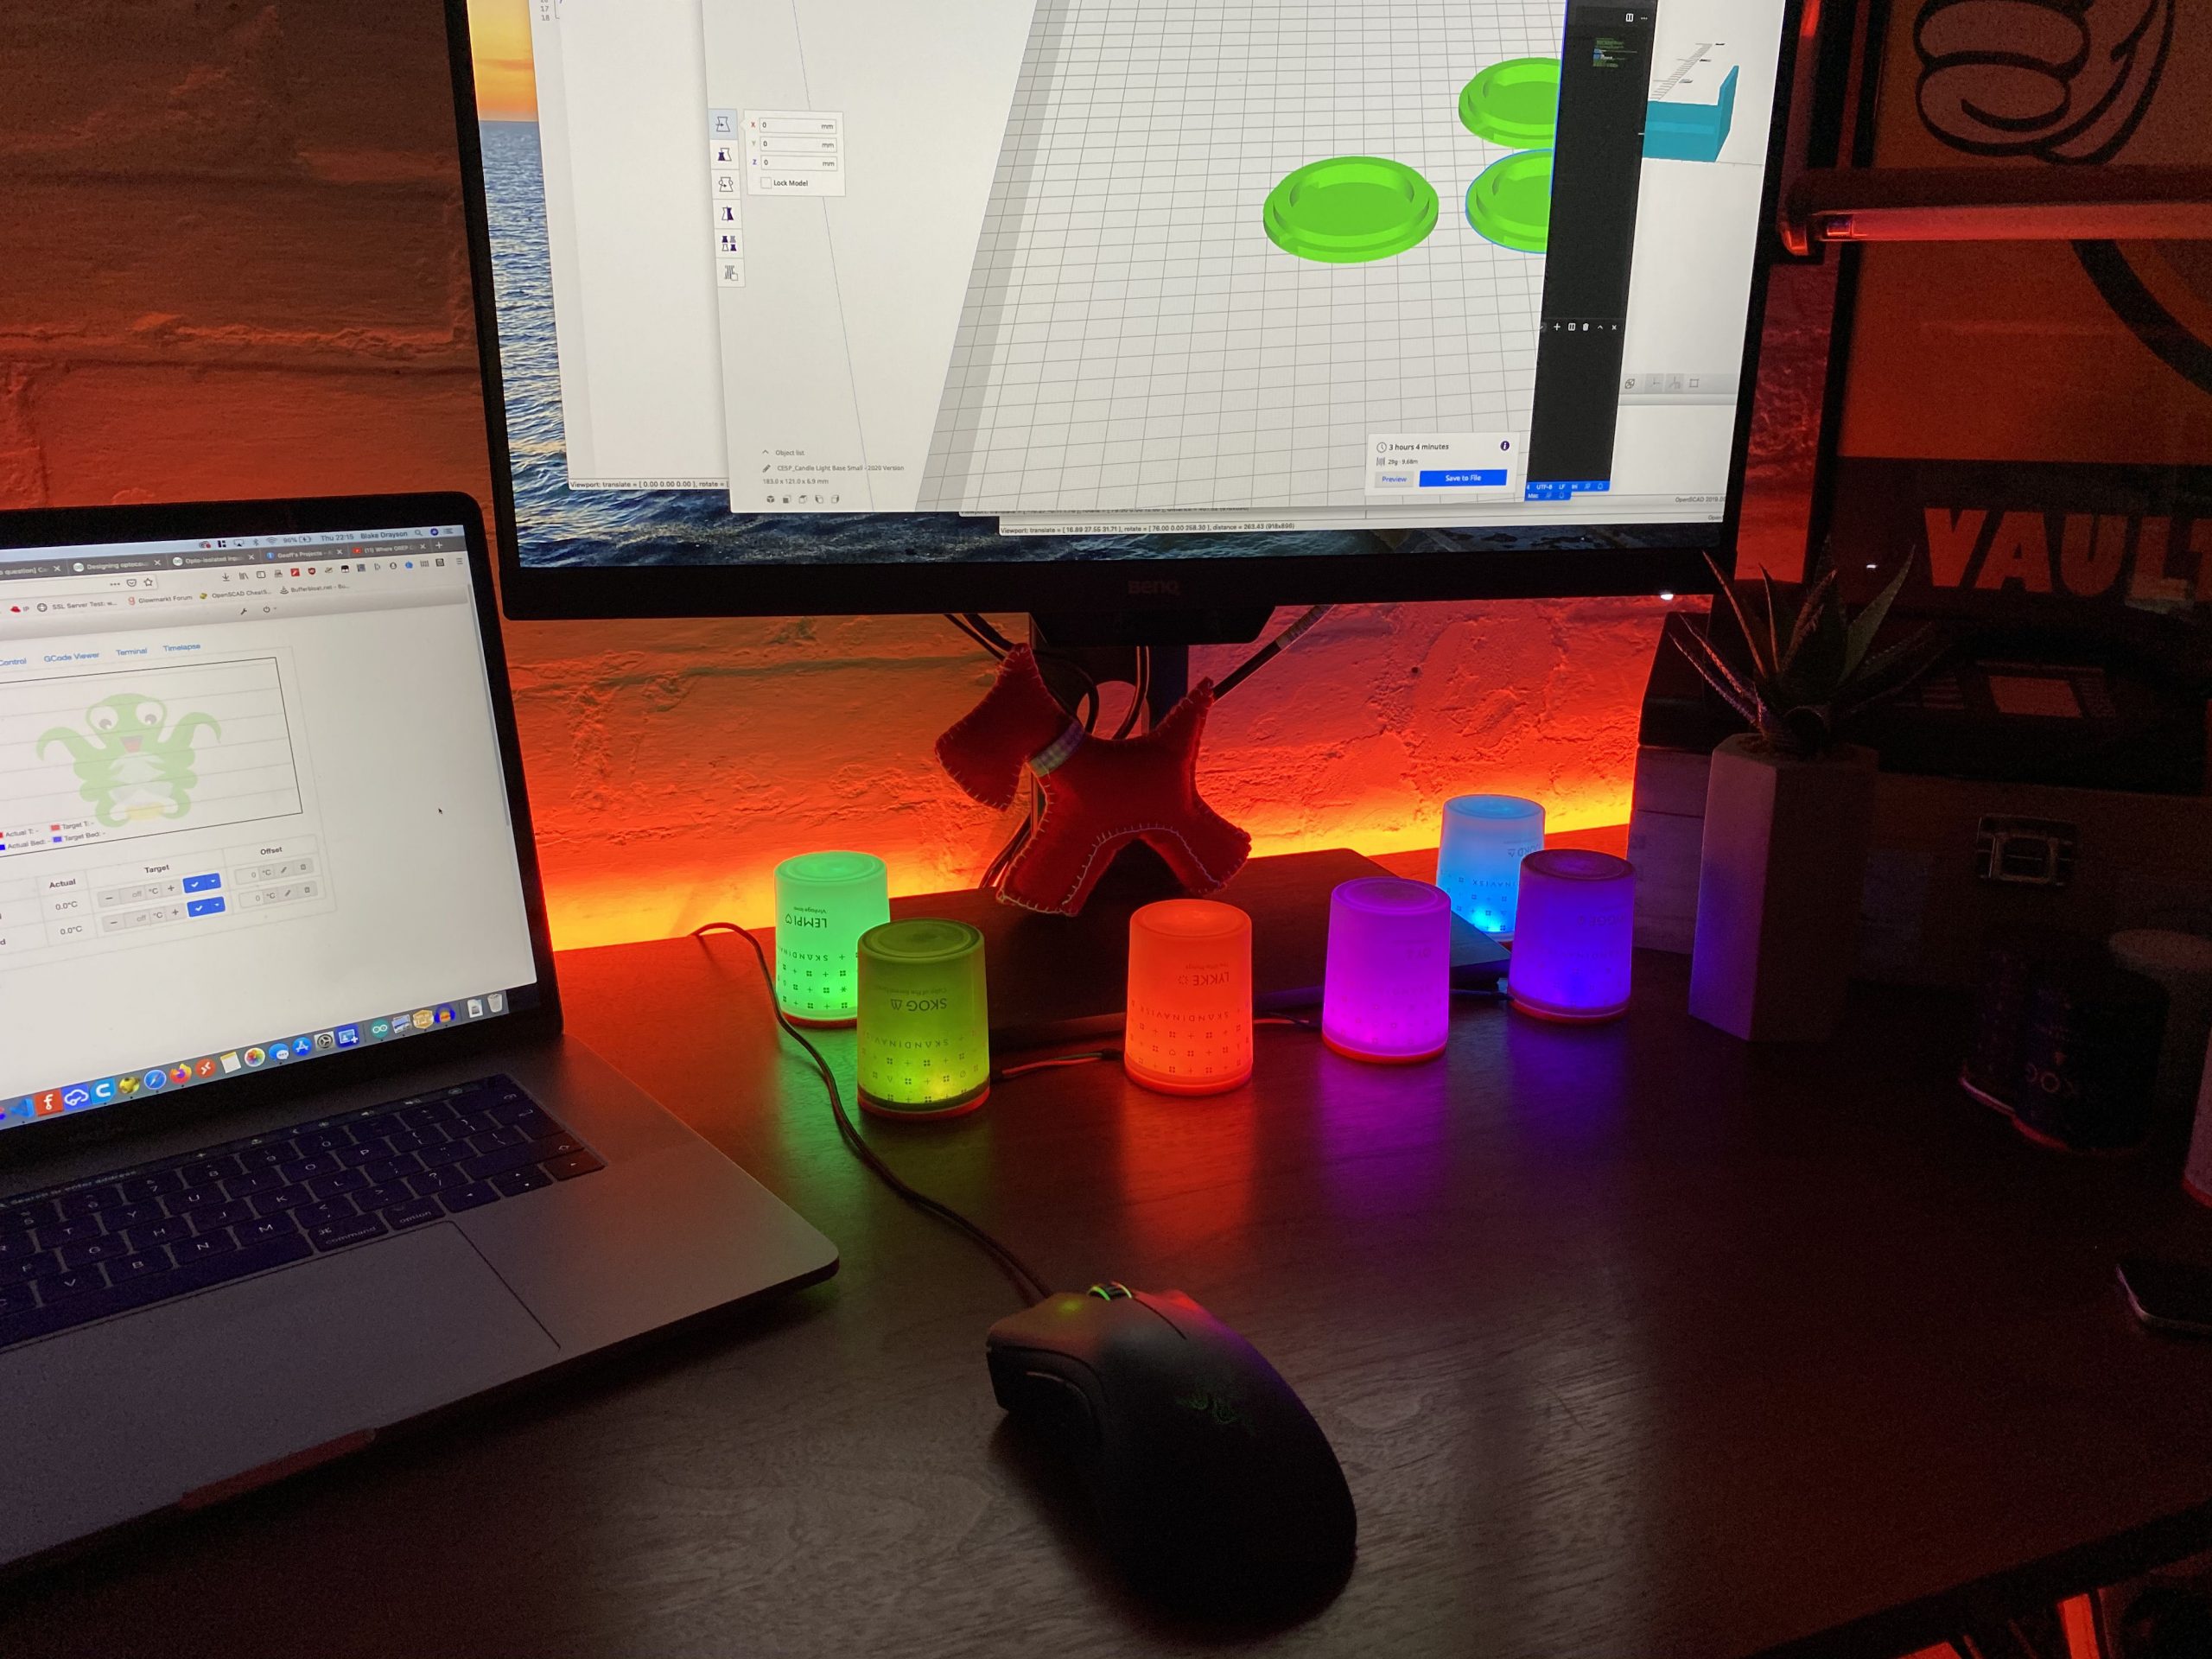
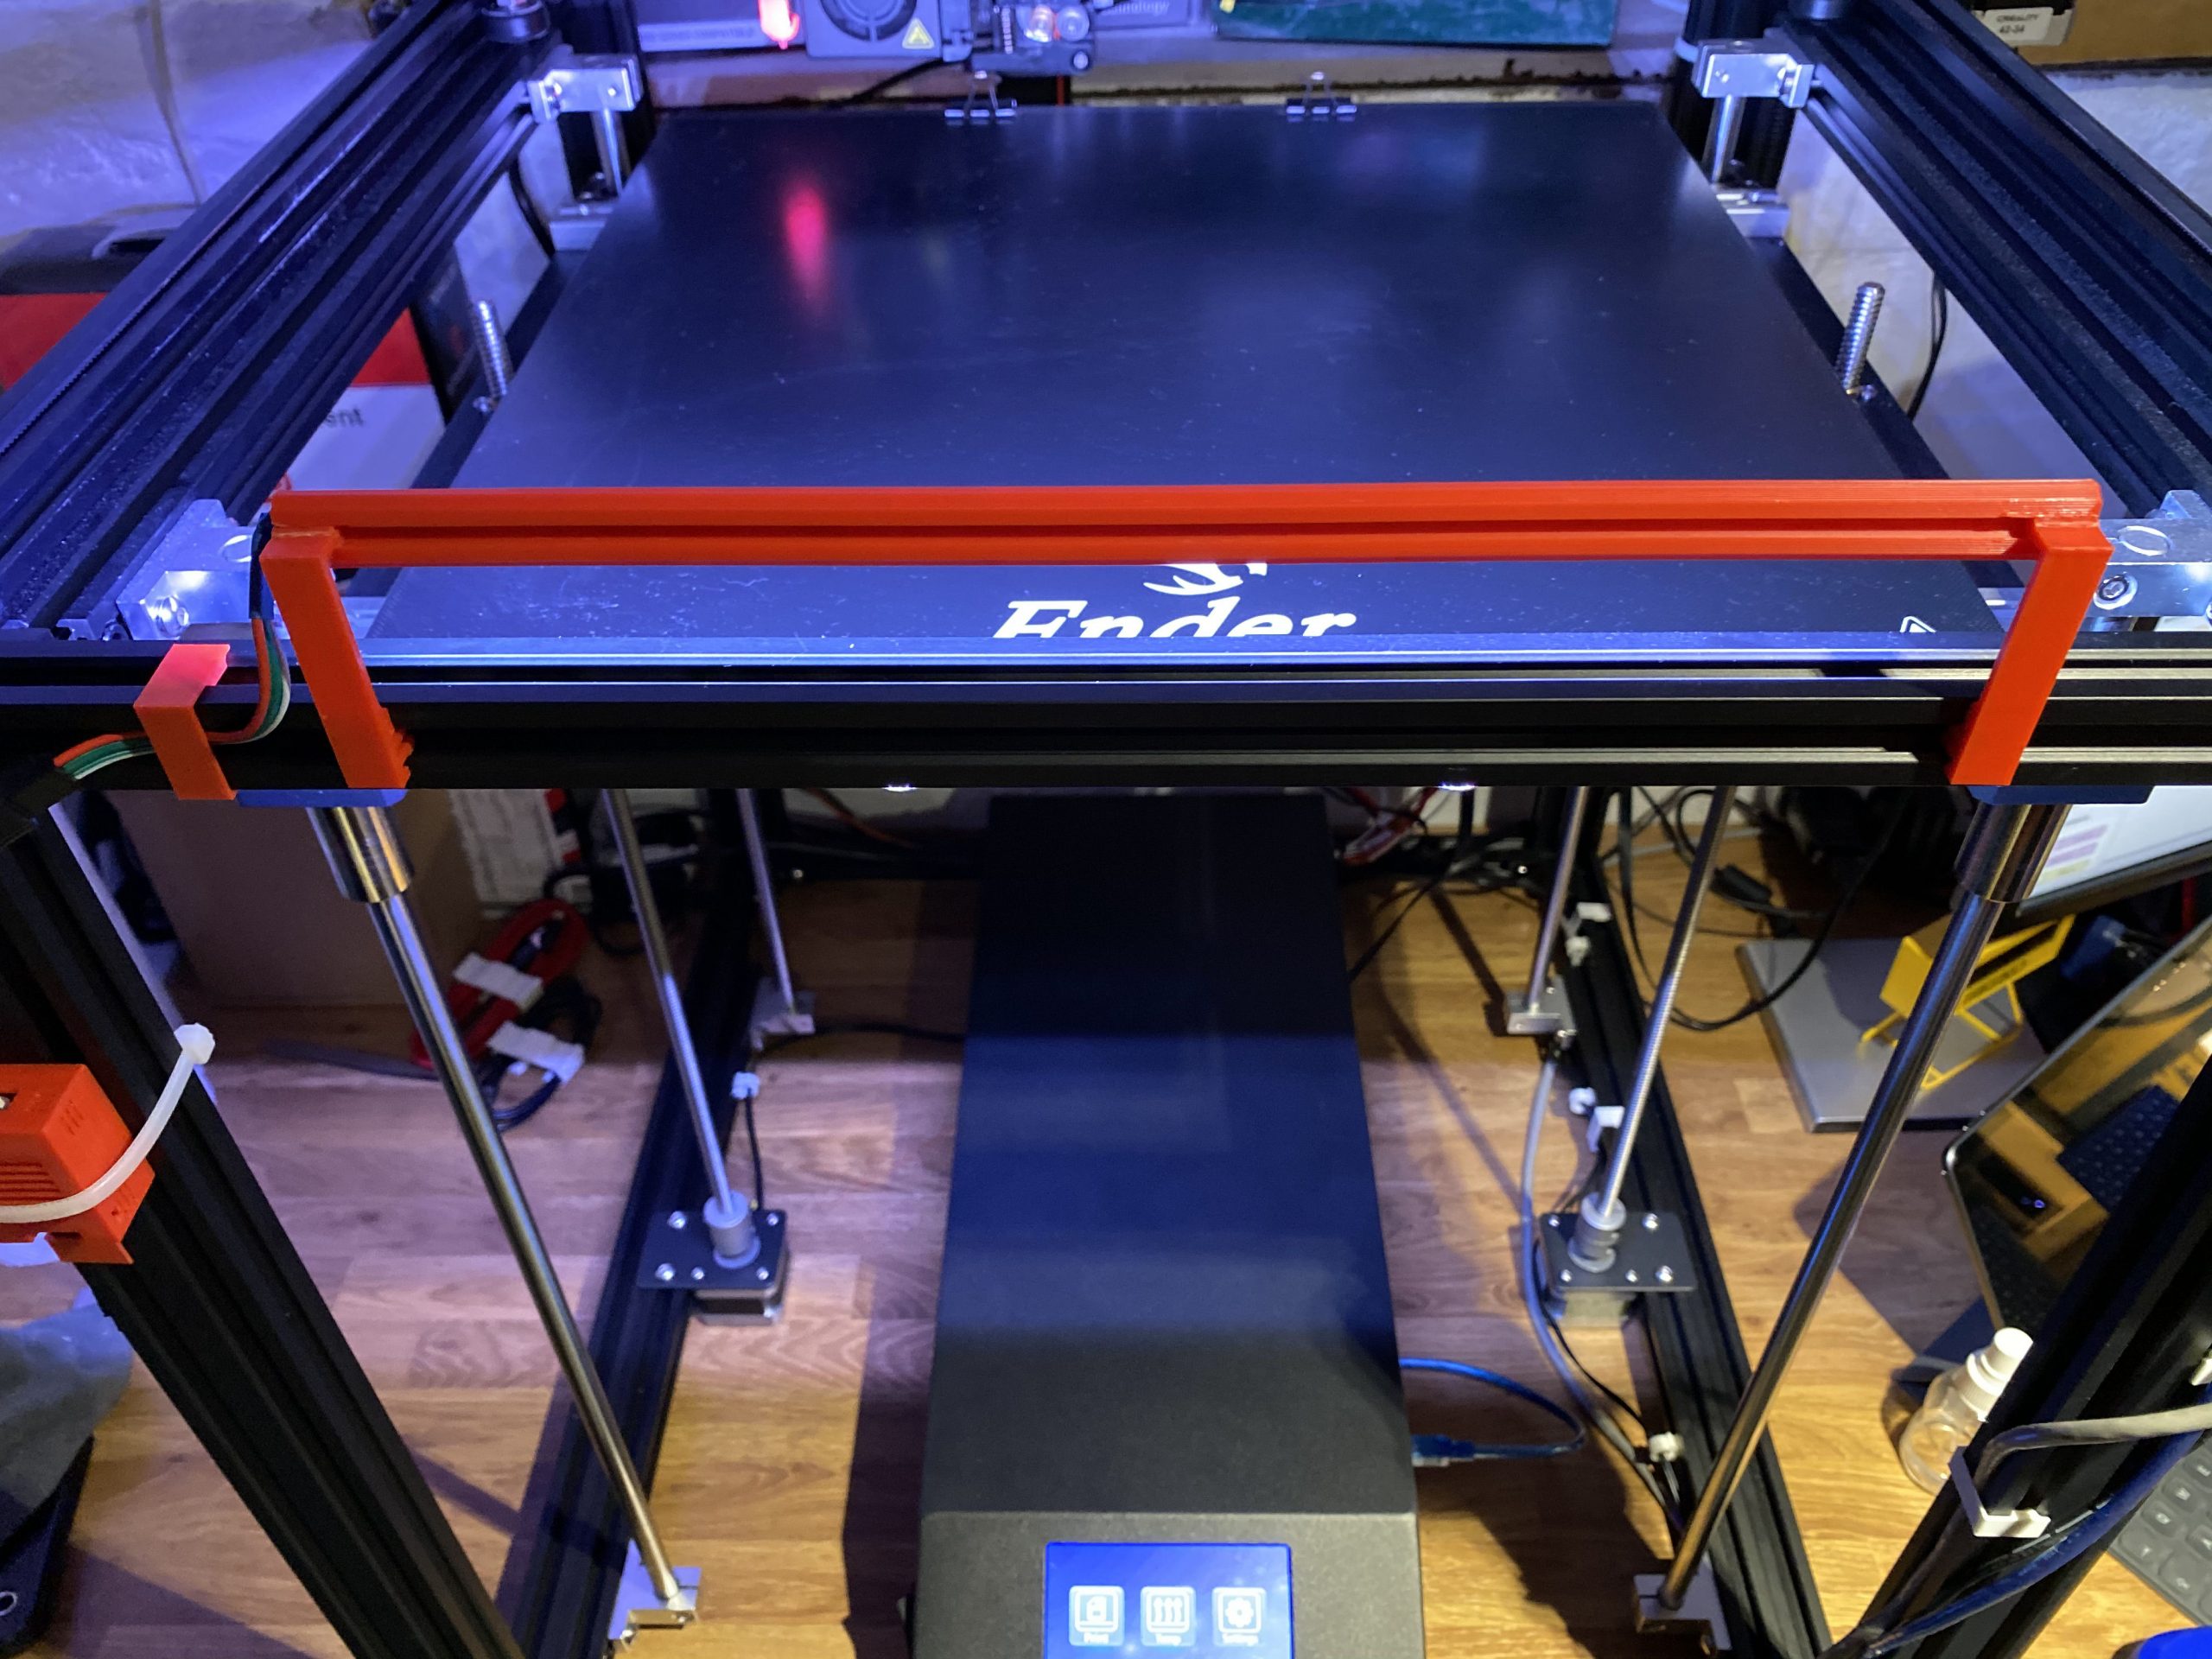
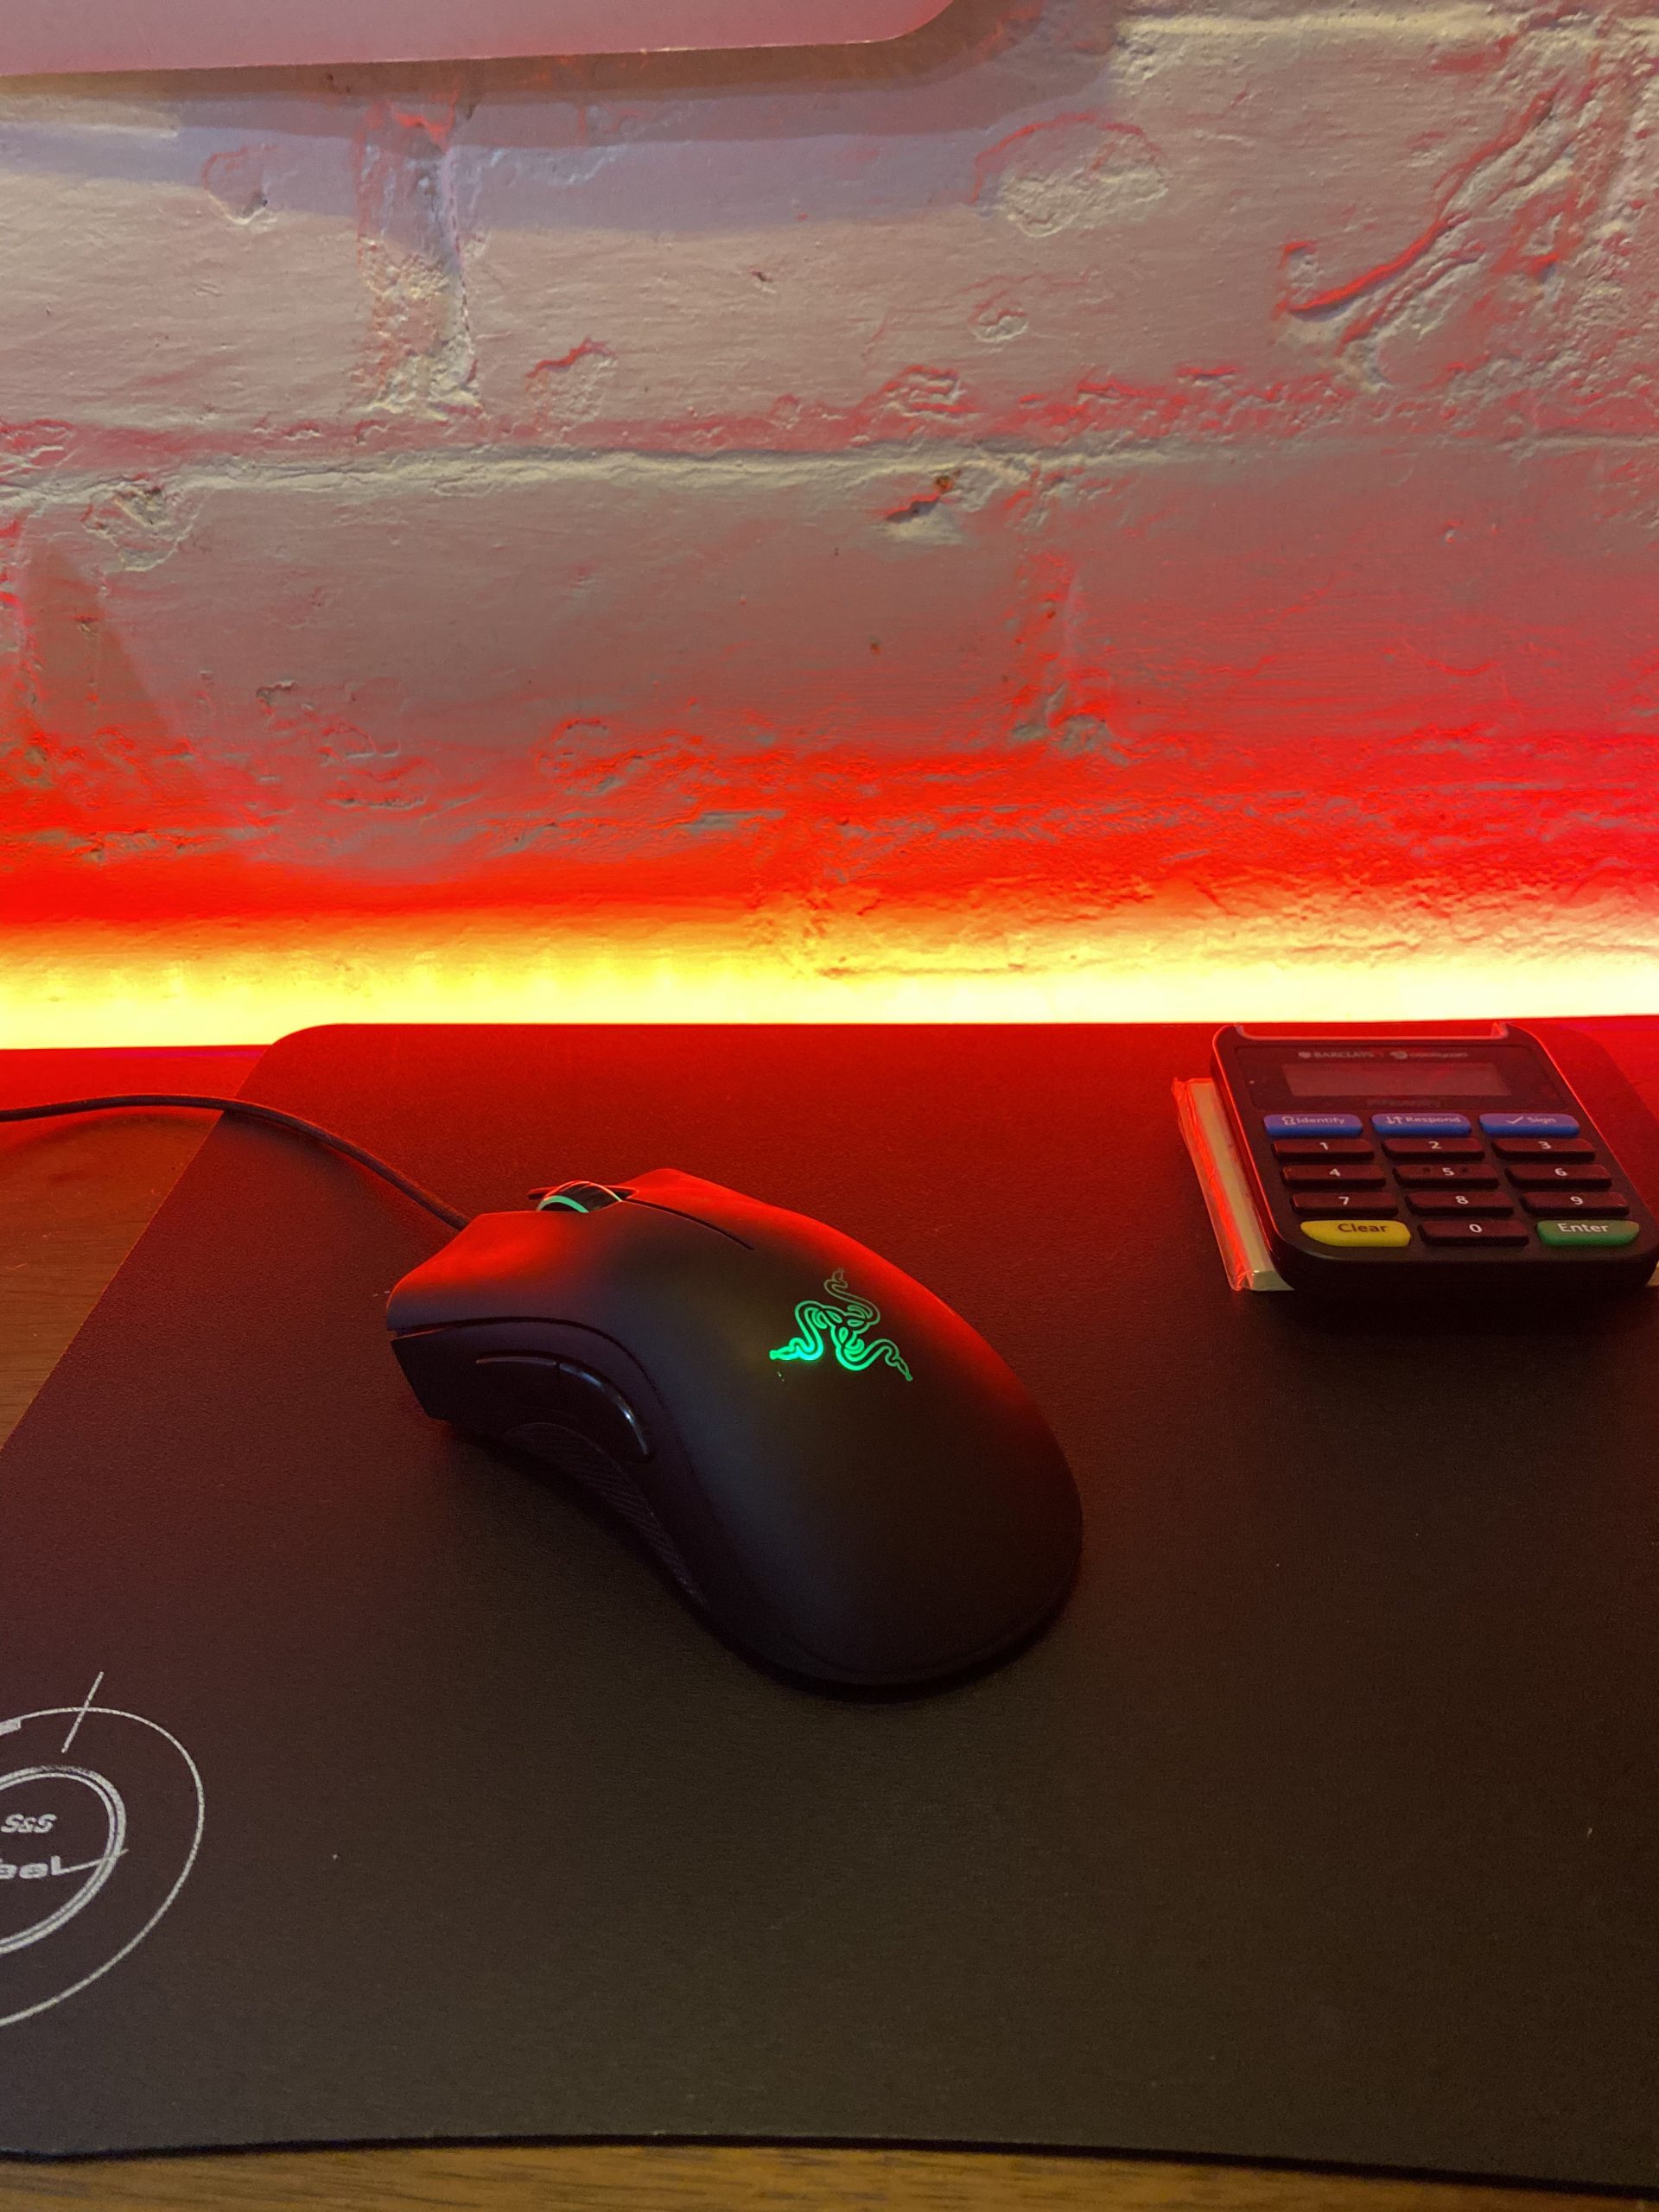
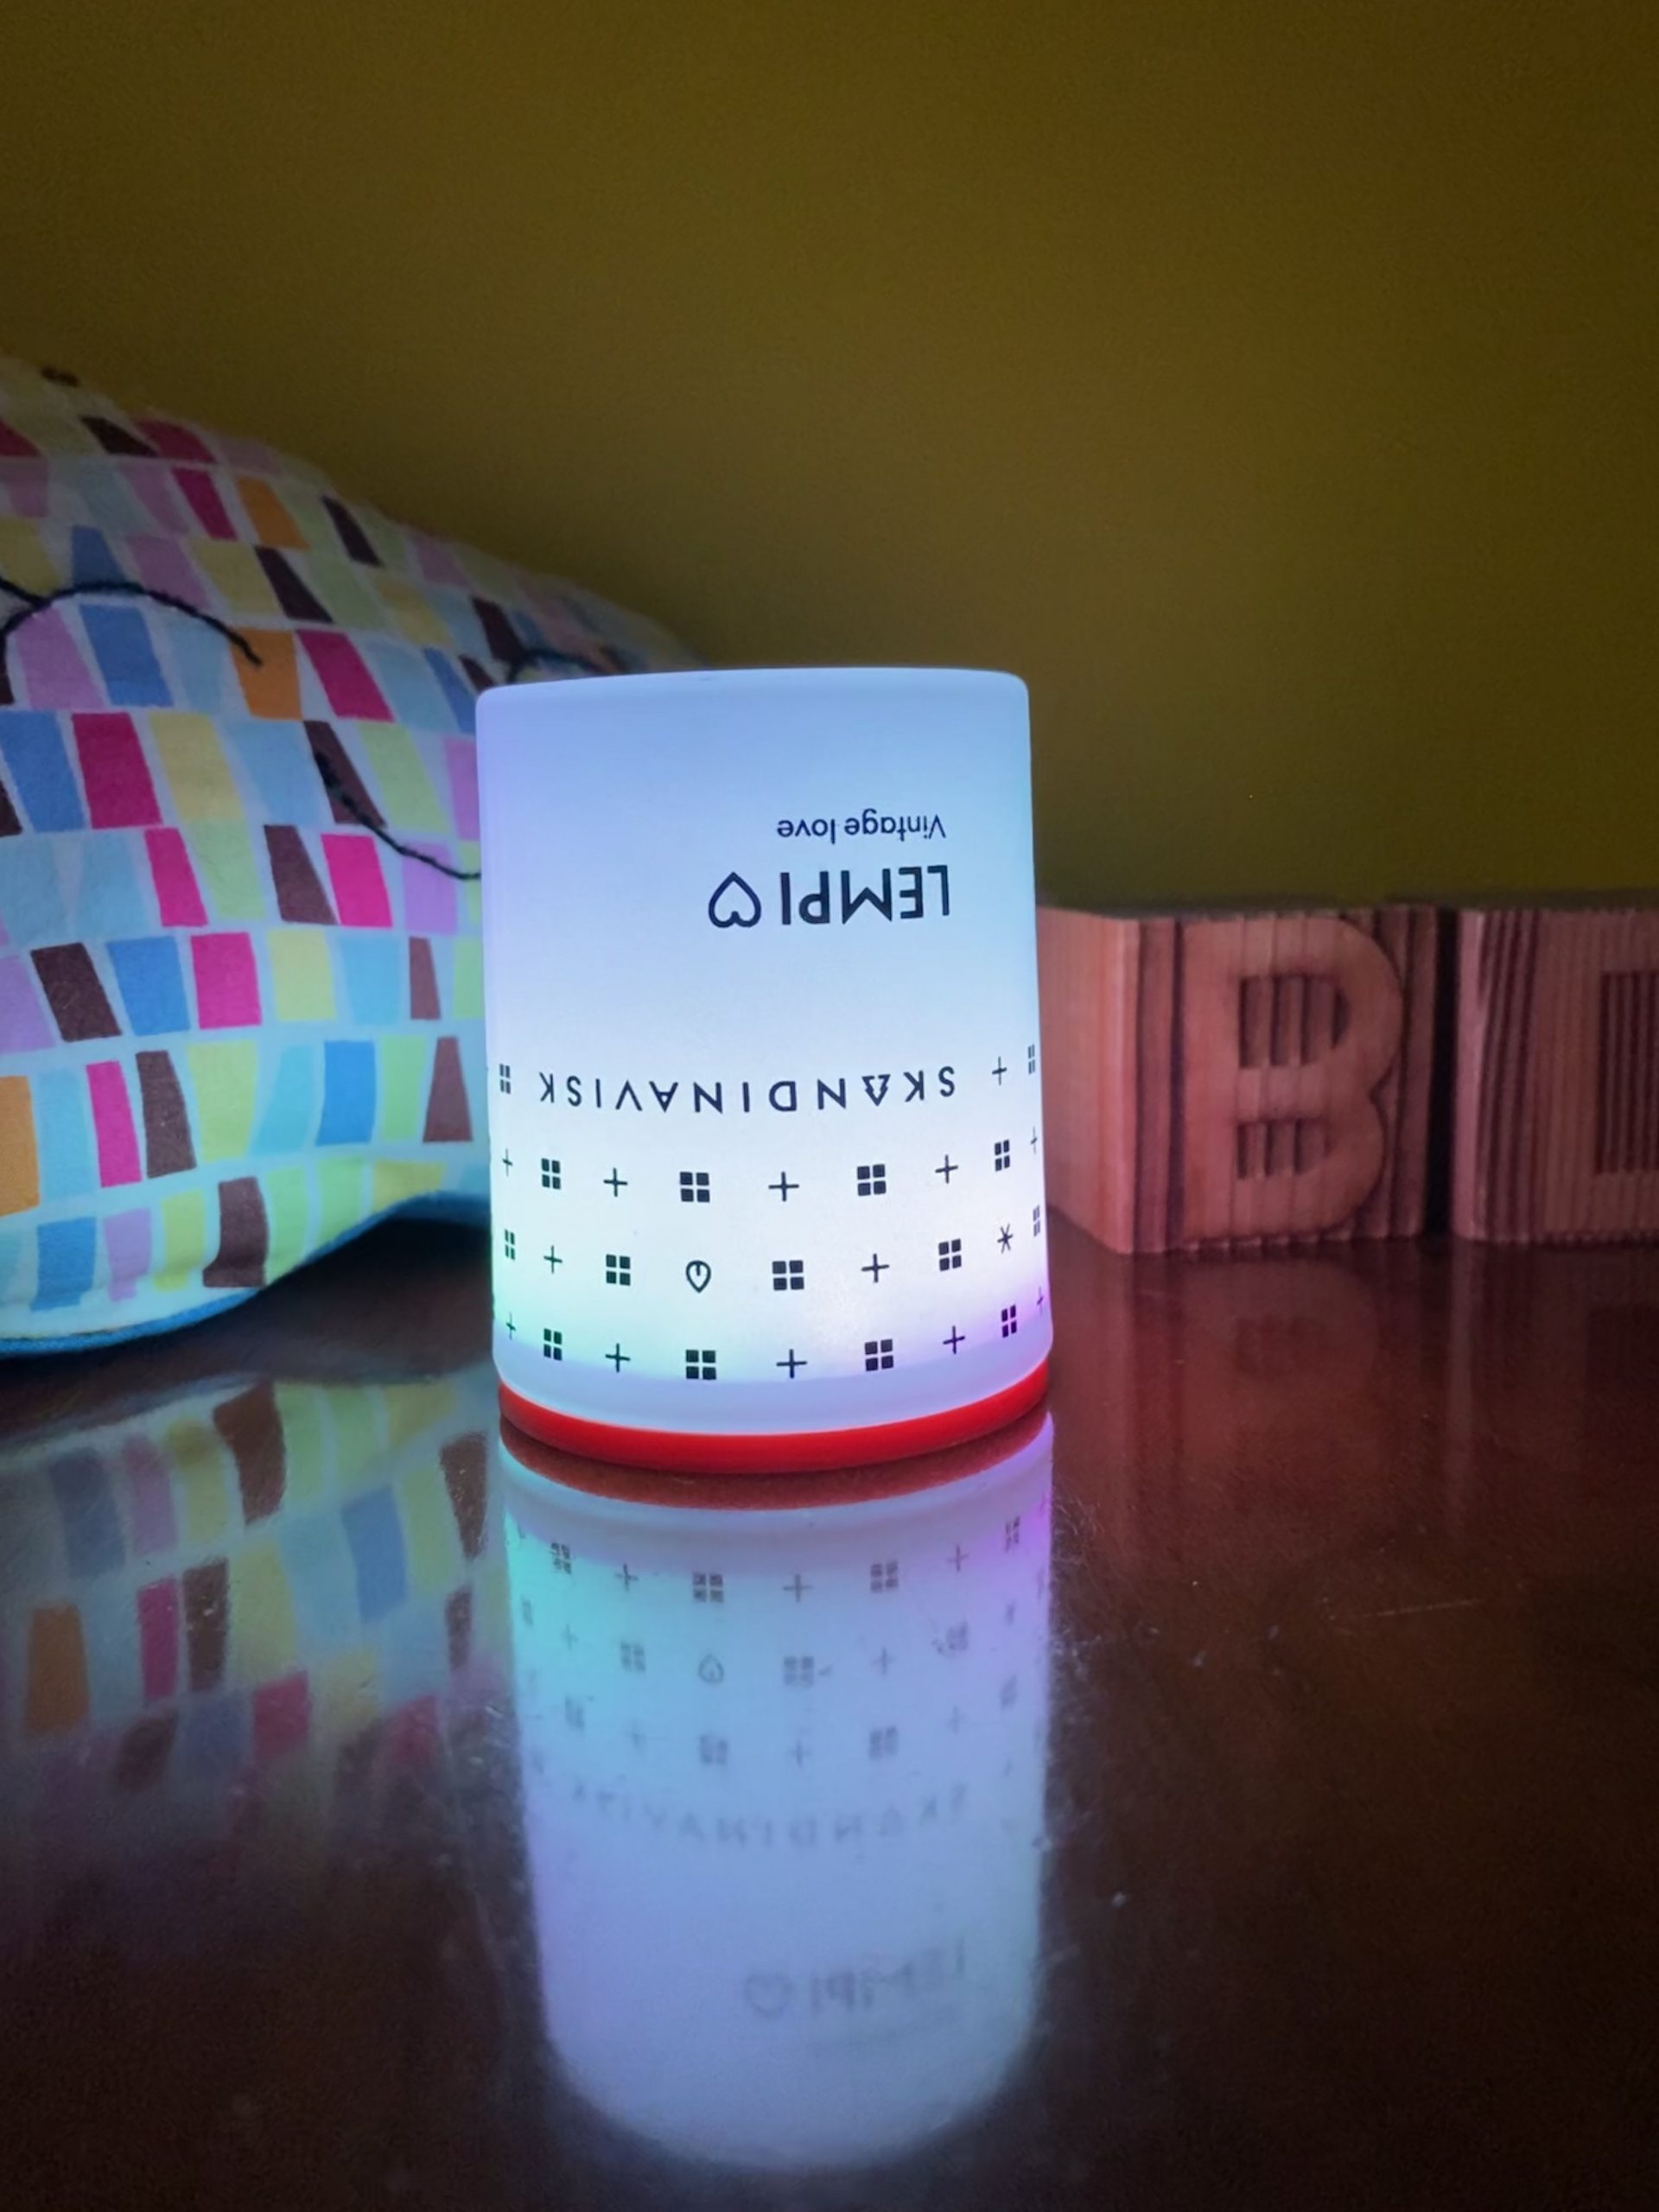
Here are some photos of the lighting projects I have created using this controller, they are used extensively around my house; a display fireplace, a 3D printer running light, multiple desk lights and stair rail lights.

